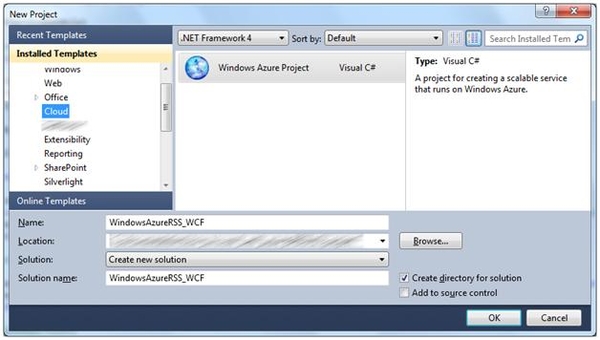
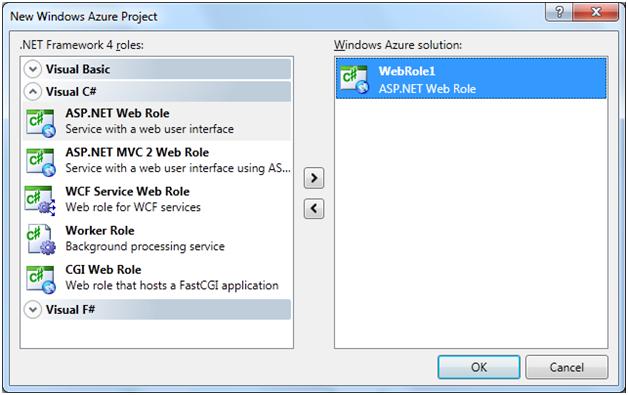
- Create a new project: Windows Azure Project.
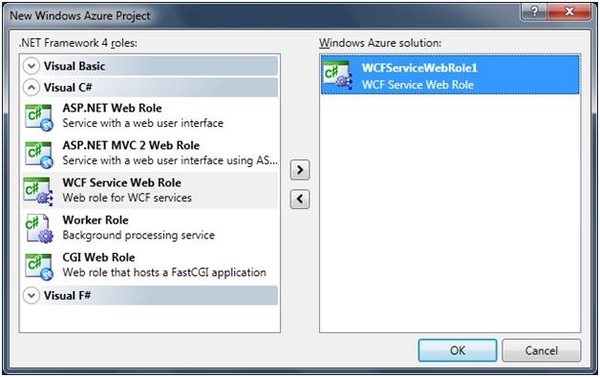
- Move the WCF Service Web Role into the «Windows Azure solution» list.
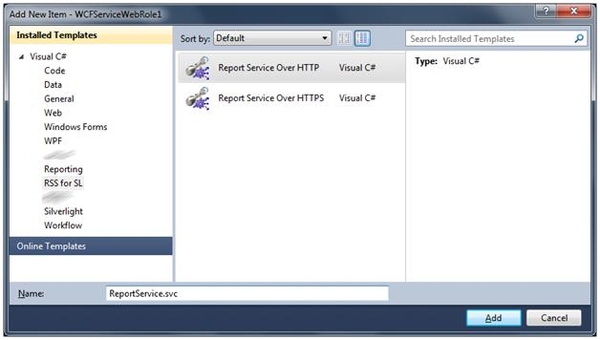
- Add the WCF service using the template («Report Service Over HTTP»).
- You can preview the steps which are needed to set the WCF services for Report Sharp-Shooter for Silverlight in Report Sharp-Shooter for Silverlight Getting Started.
You can preview the steps which are needed to set the WCF services for Silverlight Viewer for Reporting Services in Silverlight Viewer for Reporting Services Getting Started.
- Add the following files to the project:
clientaccesspolicy.xml
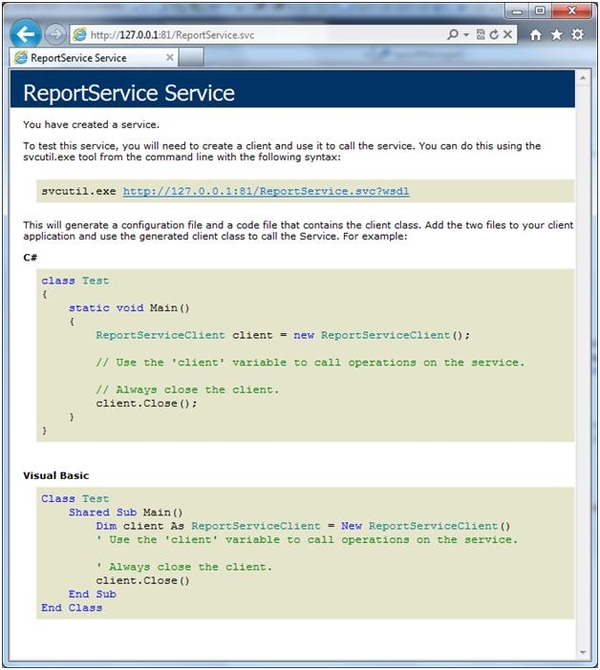
crossdomain.xml - Run the application. Write «/ReportService.svc» in addition to the browser address line. If the window, shown on the image below, was opened in the browser, then the WCF service was set correctly.
For the client’s part
- Create a new project: Windows Azure Project.
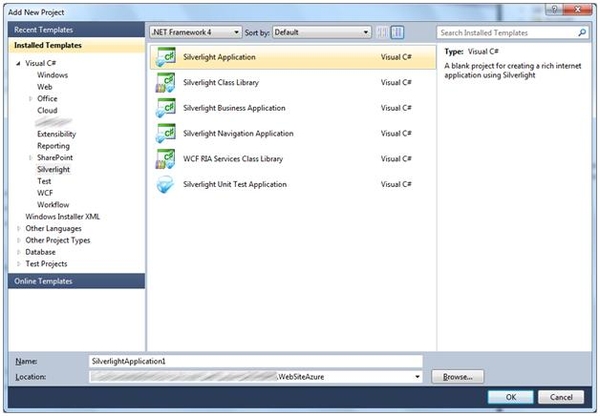
Move the ASP.NET Web Role into the «Windows Azure solution» list. - Add a new Silverlight project to Solution.
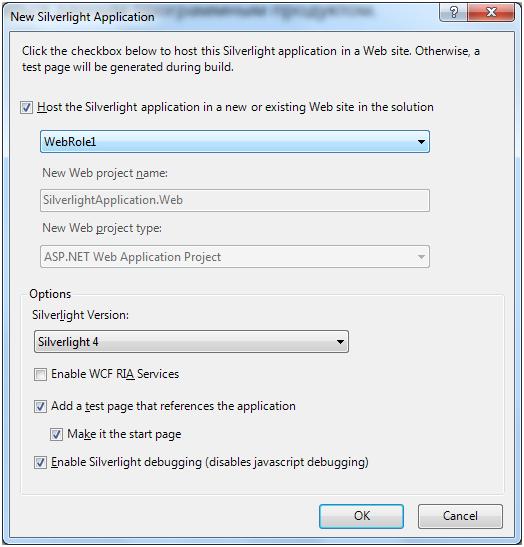
- Add the Silverlight project to the existing web project.
- Steps on how to set Silverlight and Web applications for Report Sharp-Shooter for Silverlight you can see in Report Sharp-Shooter for Silverlight Getting Started.
Steps on how to set Silverlight and Web applications for Silverlight Viewer for Reporting Services you can see in Silverlight Viewer for Reporting Services Getting Started.
Download Report Sharp-Shooter for Silverlight…
Download Silverlight Viewer for Reporting Services…
April 15th, 2011
No Comments »