Assume that you’ve installed Perpetuum Software products and run Visual Studio in order to have a look at your new wonderful components or to make your first ‘Hello world’ reporting application using them. Most probably, you will see the following text in the Toolbox of Visual Studio:
“Controls in this category are unavailable for the .NET Framework 4 Client Profile. To change this setting, open the Project Properties window.”
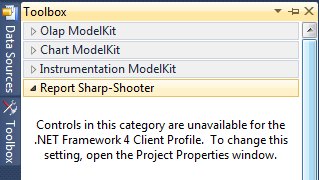
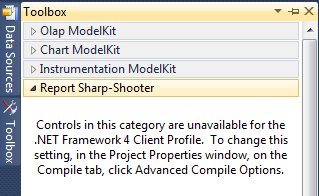
Visual Studio sets .NET Framework 4 Client Profile to default target Framework. However, the PerpetuumSoft components don’t support for this type of Framework and you need to select the Framework in the Properties of your Application:
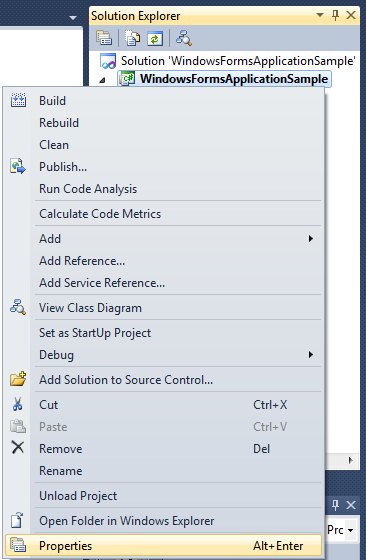
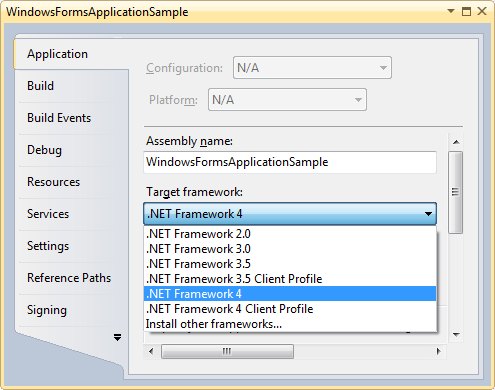
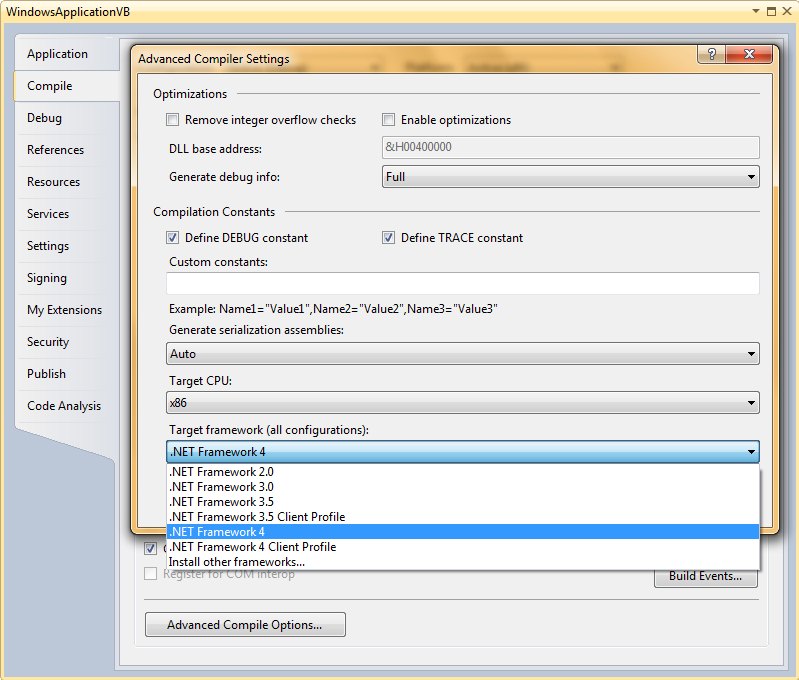
The PerpetuumSoft components will appear in VS Toolbox.
How to add PerpetuumSoft components to VS Toolbox manually.
If components are still not shown in the VS Toolbox, take the following steps:
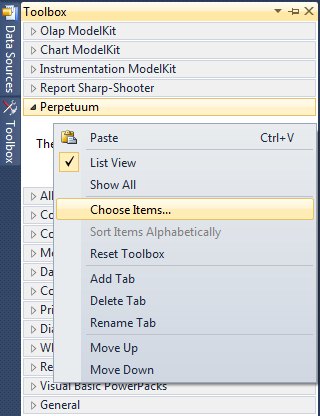
- Right mouse click on the Toolbox -> Choose Items:
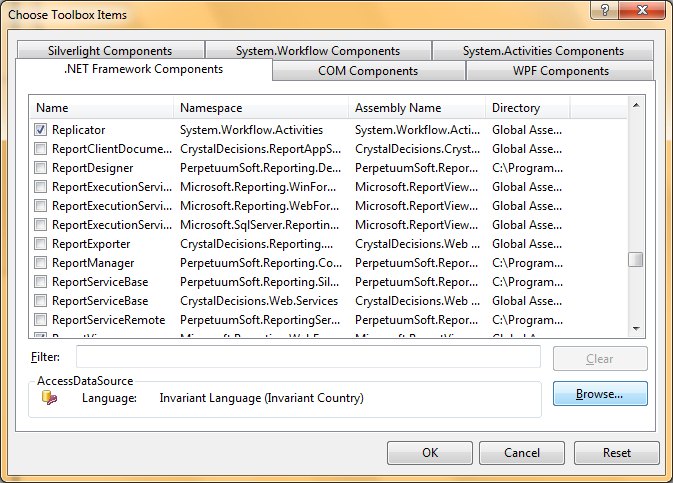
- The ‘.NET Framework Components’ tab in the window -> Click on the ‘Browse’ button:
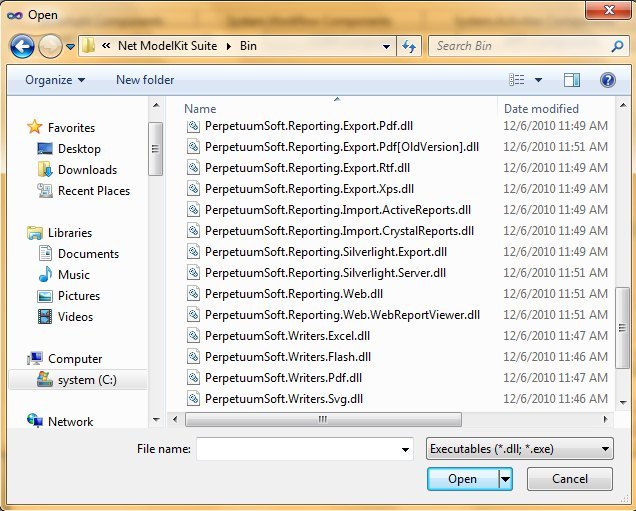
- Select the Perpetuum dll libraries from the Bin folder:
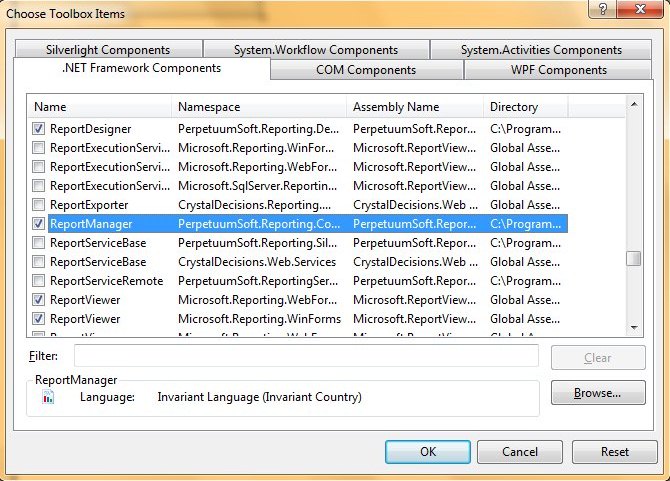
- Select the PerpetuumSoft components in the ‘.NET Framework Components’ tab:
- Click ‘OK’.
Download Perpetuum Software components…